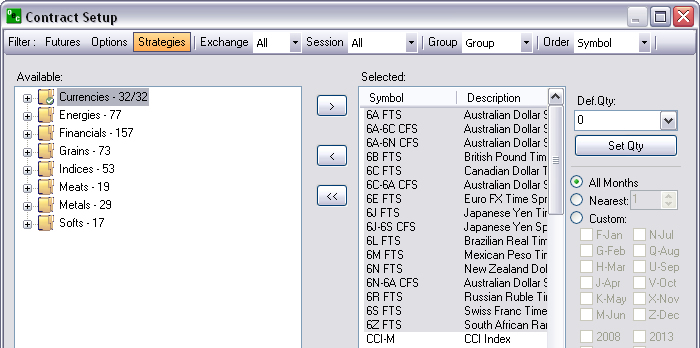
Futures commodity folders display by default upon initial installation. After an item is selected (checked or highlighted), the direction arrows located between the two panel move the contracts in either direction. All folders display a checkmark in the Available Panel and the all contracts display in the Selected Panel. Refer to the Figure below.
To remove all selections from the Selected Panel, click on the Backward double arrow [<< ]. Refer to the Figure below.
To open a folder click on the plus/add symbol [+] to display the contents.
To add a specific contract, from the left to right, click to checkmark the contract and it displays in the Selected Panel.
To add all contracts within Commodity folder, click on the group folder to display the checkmark.
To remove a specific contract from the Selected Panel, highlight the contract and click the Backward Arrow [<].
To add the entire contents of the folder, right click on it and then click the Forward Arrow [>] to display the checkmark on the folder. All contracts now display in the Selected Panel.
Note: All contracts display in the Available window with a checkmark and also display under the Selected Panel.
To remove an entire folder from the Selected Panel, right click on the checkmark folder in the Available Panel.
To individually move a single contract, click on it to highlight it, and press the Forward Arrow [>] to display it in the Selected Panel.
To individually remove a single contract from the Selected Panel, click on it to highlight it, and press the backward arrow to display it in the Available Panel.
Click to add a checkmark next to the contracts to display in drop-down menu lists for the Order tickets and Quotes window setup.